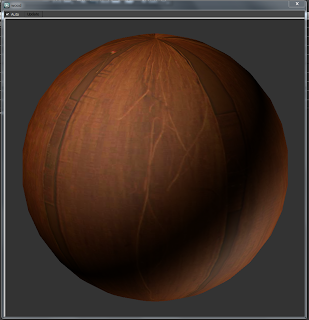
 Today we learnt how to use and create different materials. We first learnt how to you an image as a texture. To do this we saved a texture image from the Internet opened the material editor window and selected a default. Clicked on none by the diffuse colour and browsed to find the saved texture image under bitmap.
This then opened up and allowed us to edit the material. Next we used the Bump tool to add the texture again, this allowed us to add more texture and depth to the existing texture. This gave you texture more realism rather than being a flat colour.
 I then applied this knowledge to my Model of the Pantheon to give it a stone texture and with this i encountered a problem. due to some sides the texture was stretched or twisted. By learning how to use a UVW Map I was able to correct this problem.


No comments:
Post a Comment